CLOUD TELEPHONY + BITRIX24 INTEGRATION
One integrated solution. Unlimited possibilities.
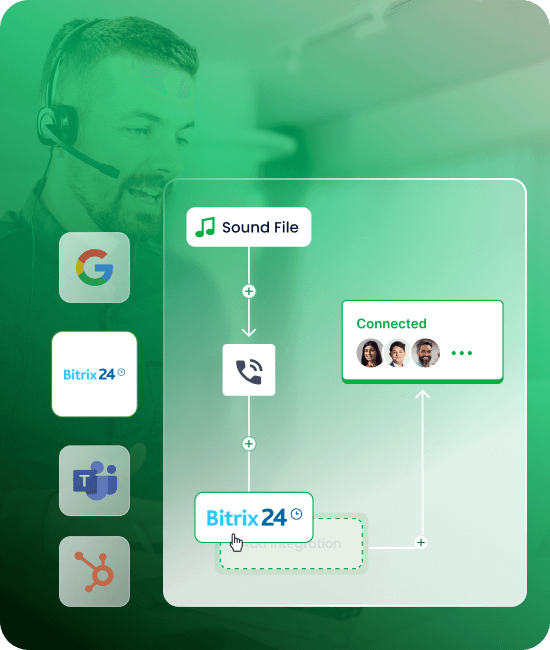
Combine the capabilities of Acefone and Bitrix24 CRM for smooth, hassle-free customer service.
Integrate for smoother conversations. Get:

Better connectivity
- Access all your CRM tools on your desktops or mobiles
- Pin social media platforms directly to your dashboard
- Stay in touch with teams on the go and collaborate remotely
Smarter tracking
- Get insights about customers preferences and peak times
- Build unique sales funnels and offer personalised service
- Track metrics like call handling to maximise efficiency

Faster workflows
- Quick onboarding process to get started instantly
- Quick onboarding process to get started instantly
- Chatbots and live agents allow for quick, all-day support
Steps to Integrate
Unlock a world of possibilities with the Acefone and Bitrix24 integration in just four simple steps.
1. Signing Into Acefone
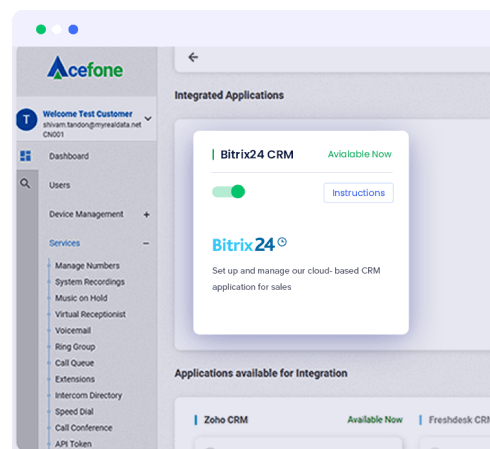
STEP 1
Signing Into Acefone
- Login to your Acefone account
- Select Integrations under the Services tab
- Select Bitrix24 and click on Instructions
- Activate the Bitrix24 integration with Acefone by clicking the Enable button
- Click on the Download button
- Select the desired platform for which you wish to install a softphone
2. Installing application
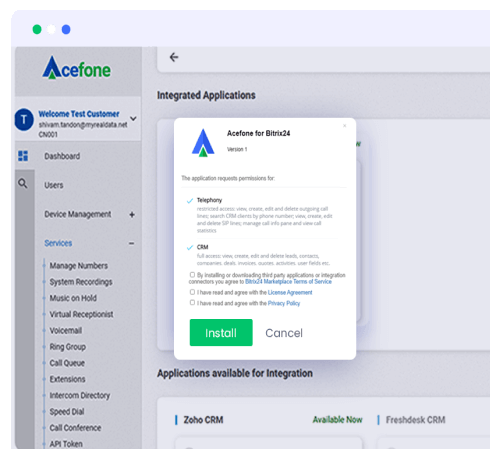
STEP 2
Installing application
- Install the application and log in with your Acefone credentials
- Log in to your Bitrix24 account
- A dialogue box appears, as shown below. Tick the checkboxes and install the Acefone application
3. Authorizing Acefone
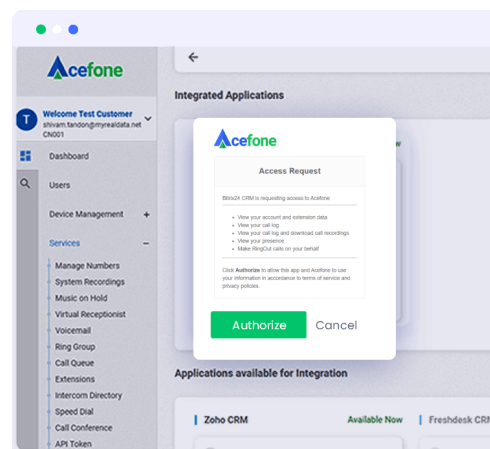
STEP 3
Authorizing Acefone
- Select Acefone in the Application section, under the More tab
- Login to your Acefone account
- Once the authorisation is successful, you will get the following pop-up
4. Configure telephony
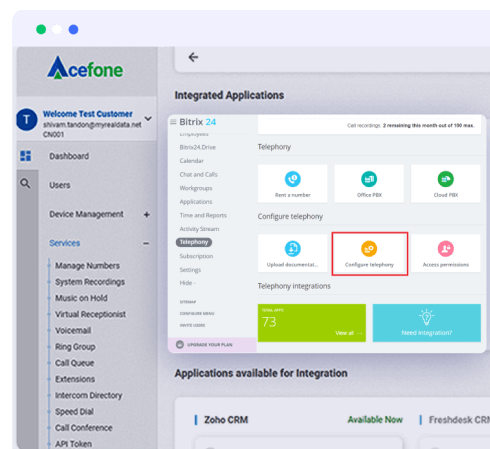
STEP 4
Configure telephony
- Click on the Telephony section under the More tab, and select Configure Telephony
- Select Telephony Settings and select Default Number for outgoing calls as Acefone application
- Click on Telephony User, select Configure, and select the number for outgoing calls as Acefone application
- Select Acefone as the application and toggle on if you want to save leads automatically
- Click Save. Now you are ready to place calls by clicking the phone icon in the bottom-right
All that your communication needs
Enterprise-grade software
A reliable CRM and a robust cloud phone system is your winning combination.
- Plan customer engagements to marketing campaigns
- Connect via various mediums—broadcast messages, emails, calls
- User-friendly CRM as a central command post
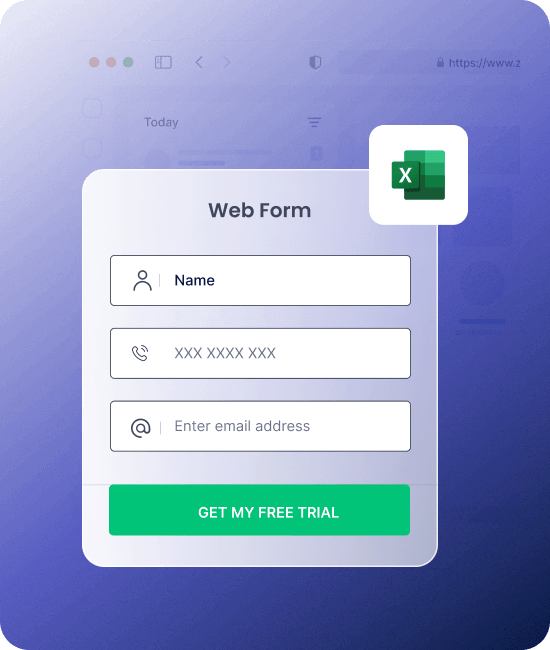
Simplified lead management
Enhance productivity and improve conversions with smarter lead management.
- Link customisable web forms to never miss a lead
- Use automatic lead distribution for optimised call flow
- Differentiate new and existing leads with call pop-ups
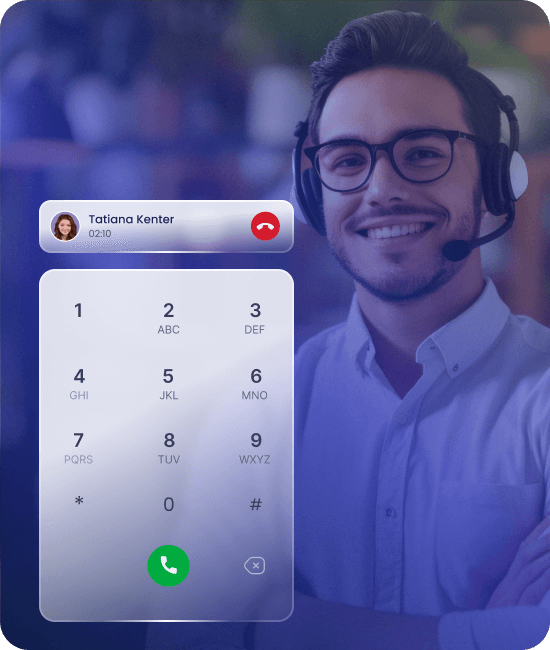
Engaging customer service
Stand apart with a modern toolkit for a refreshed customer service experience
- Analyse feedback on products and services with IVR
- Add notes on each call for hyper-personalised service
- Easily access information and deliver quick resolutions
Integrate your Cloud Phone with Bitrix 24 in Four Simple Steps
- 1 Login to Acefone
- 2 Installing App
- 3 Enable Integration
- 4 Configure Integrations
More Cloud Telephony Integrations
Explore all integrations


Read More About Cloud Phone Systems
Grow your institute with the right information at your fingertips


You're at the start of something special.
Try our cloud phone system today.