


If you have been waiting for your engineering team to build an AI calling workflow, you already know how that goes. The ticket gets deprioritized. The sprint fills up. The timeline moves. Weeks pass. The use case you had in mind (confirming COD orders, following up on abandoned carts, notifying customers about delivery delays) still has not launched.
No-code voice agent platforms change this. They put the build process in the hands of the team that understands the use case: the CX manager, the operations head, the product manager who has been pushing for automation for six months. No code required. No dependency on a developer to make changes. No two-week wait to update a script.
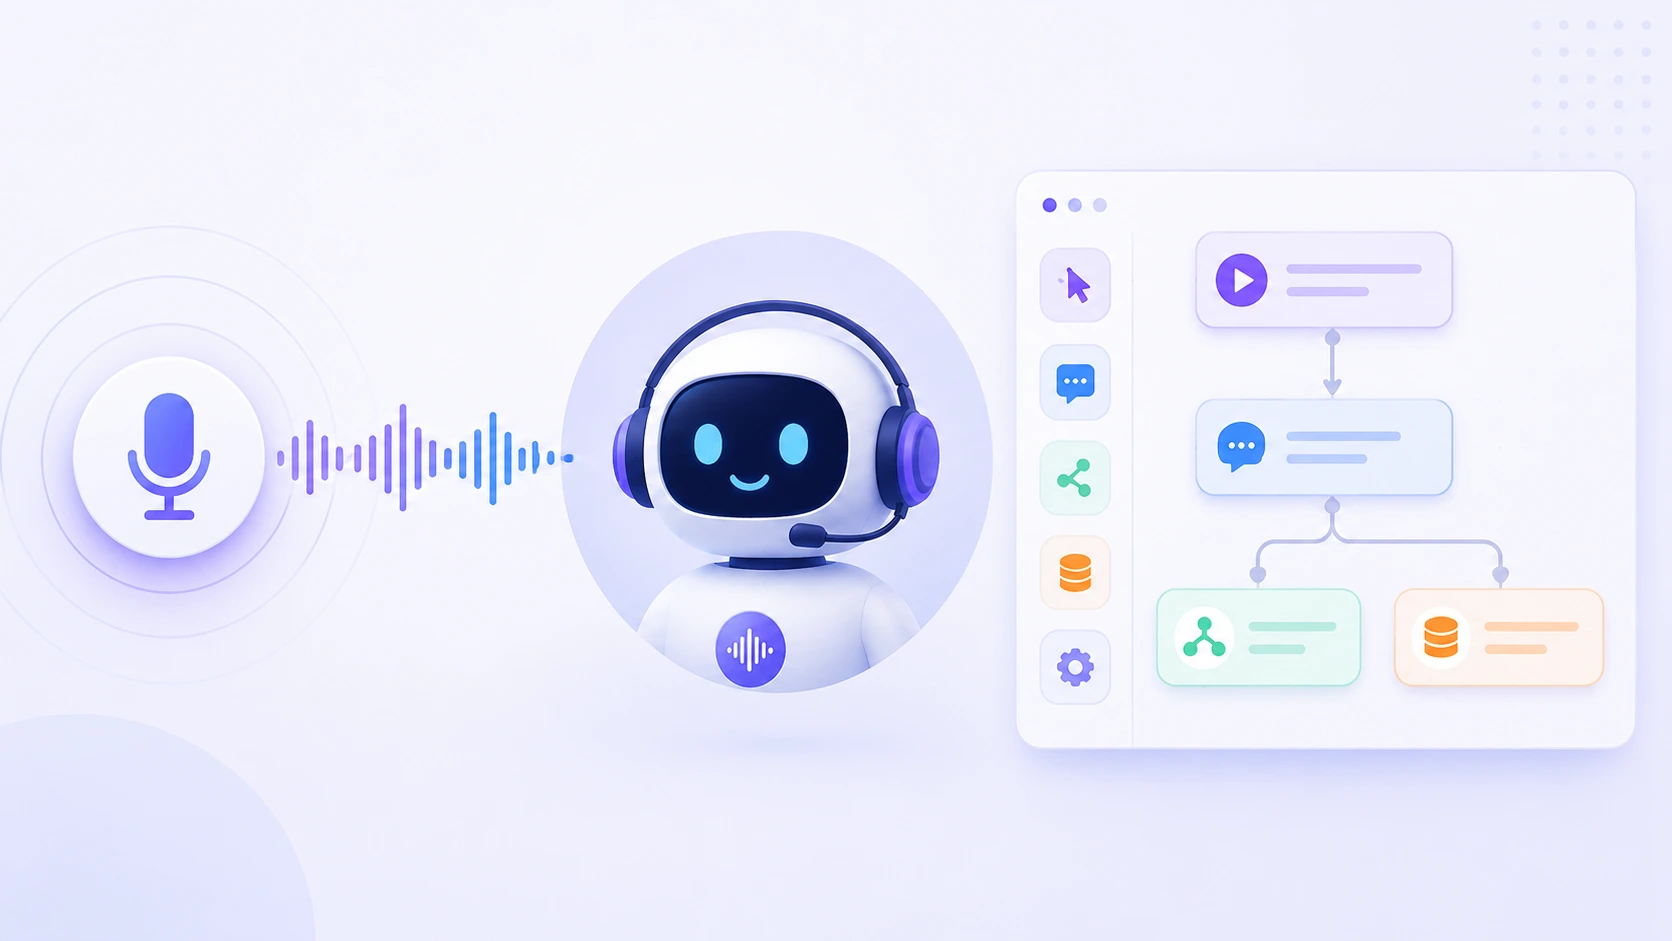
Let’s understand exactly how a no-code voice agent setup works, from building your first call flow to monitoring live performance, so you know what to expect before you start.
Why Non-Technical Teams Are Now Leading Voice Automation
The idea that AI automation is a developer-only territory is shifting fast. A study projected that in 2025, 70% of new applications developed by enterprises would use low-code or no-code technologies. The shift is happening because business teams cannot afford to wait for engineering bandwidth every time they need to test a new workflow or update a script.
Voice automation is following the same pattern. The teams closest to the customer (CX, operations, support) now have platforms that let them design, test, and deploy AI calling workflows without writing a single line of code. The result is faster deployment, faster iteration, and a team that can own the automation instead of requesting it.
This does not mean every deployment is developer-free. Integrations with your OMS, CRM, or logistics APIs may require technical support. Compliance reviews or custom data handling may need your IT team involved. But the core workflow (the script, the call flow logic, the escalation rules, the testing) can all be managed by your business team.
How to Set Up No Code Voice Agent End-to-End
Here is a complete workflow you can use to set up no code voice agent:
Step 1: Set Up Your Agent Prompt
The first thing you build in a no-code voice agent platform is the prompt. This is the instruction set that tells the agent who it is, what it is doing, and how it should behave.
Think of it like a briefing document for a new team member. You tell the agent its name, the brand it represents, the purpose of the call, and the tone it should use. You tell it what it is allowed to do, confirm an order, read back a delivery date, offer a reschedule, and what it should not do, such as make commitments outside its scope.
A good prompt for a COD confirmation agent might look like this:
“You are a customer support agent for [Brand Name]. You are calling to confirm a cash-on-delivery order placed by the customer. Confirm the order details, verify the delivery address, and ask the customer to confirm they will be available to receive it. If the customer wants to cancel, confirm the cancellation. If the customer has a question you cannot answer, transfer the call to a live agent.”
No code. No logic trees. Plain language that the AI understands and acts on.
Step 2: Configure Your Call Flow
Once the prompt is set, you build the call flow. This is the structure of the conversation: what the agent does at each stage and what happens depending on how the customer responds.
In a no-code builder, this is typically done using a visual canvas. You add nodes for each step: greeting, authentication, data retrieval, response, and closing. You connect them with branching logic. If the customer confirms, proceed to closing; if the customer wants to cancel, trigger the cancellation flow; if the customer does not respond, retry once and then escalate.
The call flow does not need to be complex to be effective. A COD confirmation flow might have six to eight nodes. A WISMO flow might have eight to ten. The goal is to cover the most common customer responses and define a clean path for each one.
One node that every flow needs is a fallback. If the customer says something the agent does not recognize, or asks a question outside the agent’s scope, the fallback routes the call to a live agent rather than leaving the customer in a loop. This is not a failure state, it is the escalation logic working as designed.
Step 3: Connect Your Data Sources
This is the step where a technical team member may need to be involved, depending on your platform and the complexity of the integration.
For the voice agent to retrieve live data (an order status, a delivery date, a return eligibility check) it needs to connect to your OMS, logistics platform, or CRM. On platforms like AceX, this is done through pre-built connectors or a simple API configuration. For standard integrations with common e-commerce platforms, the setup is straightforward. For custom systems, your technical team may need to configure the connection.
The important thing to understand is that the integration is a one-time setup. Once connected, your team can update scripts, add new flows, and modify call logic entirely on their own. The developer involvement is at the infrastructure layer, not the workflow layer.
If your use case does not require live data retrieval, for example, a basic outbound notification or a re-engagement campaign where the script is static, you can skip this step entirely and go straight to testing.
Step 4: Test Before You Launch
Testing a voice agent before it goes live is not optional. A call that fails mid-conversation, loops on an unrecognized response, or transfers incorrectly creates a worse experience than not calling at all.
No-code platforms typically offer two testing modes. The first is an internal simulation where you walk through the call flow yourself, triggering each branch to verify the logic. The second is a live test call to a real number, your own phone or a test account, so you can hear exactly what the customer will hear.
During testing, check three things specifically. First, does the agent authenticate correctly and retrieve the right data? Second, does the branching logic follow the correct path for each response type? Third, does the escalation trigger correctly when it should?
AI evaluator tools can automate a significant portion of this testing by simulating customer responses across hundreds of scenarios before a single live call is made. For high-volume deployments, this is worth setting up before launch.
Step 5: Deploy and Set Your Campaign Parameters
Once testing is complete, deployment on a no-code platform is typically a few configuration steps. You define the outbound calling schedule, which days, which hours, and how many concurrent calls the agent should make. You set the caller ID to your brand’s registered number. You upload or connect the contact list.
For inbound flows, you point your support number to the voice agent and define the call routing logic, which flows the agent handles and when it should transfer to a live agent queue.
Campaign parameters matter more than most teams expect. Calling outside business hours, over-contacting a single customer, or failing to suppress customers currently in an active support interaction all create the kind of experience that undermines the automation entirely. Most no-code platforms have built-in controls for these, use them.
Step 6: Monitor Performance and Iterate
Deployment is not the finish line. It is the start of an improvement cycle.
A no-code voice agent platform gives your team a dashboard of call performance data: connection rates, containment rates, escalation rates, average call duration, and if integrated with your CRM, outcomes like confirmed orders or rescheduled deliveries.
The metrics to watch in the first two weeks are escalation rate and containment rate. A high escalation rate on a specific flow means the bot is encountering responses it cannot handle. That is a signal to update the prompt or add a new branch to the call flow. A low containment rate means too many calls are dropping to agents again, a script or logic problem that your team can fix without developer involvement.
This is the advantage that no-code gives non-technical teams beyond the initial deployment. When something needs to change, you change it. No ticket. No sprint. No two-week wait.
What Still Needs Technical Support
It is worth being clear about where the limits are. No-code setup handles the workflow layer prompts, call flows, escalation logic, testing, and campaign management. The following may still require technical involvement.
Custom API integrations with non-standard OMS or logistics platforms, compliance reviews for regulated industries or sensitive data handling, high-volume infrastructure scaling beyond standard platform configurations, and SSO or enterprise security setup. These are not blockers to getting started. They are tasks that happen in parallel or after your first flows are live.
The voice bot use cases that deliver the fastest time to value (COD confirmation, WISMO, delivery updates) typically require minimal integration work. They are the right place to start.
Conclusion
The gap between wanting AI voice automation and having it live has shrunk dramatically. Non-technical teams can now design a prompt, configure a call flow, test it, and deploy it in hours. Not weeks. Not sprints.
Some parts of the setup may still need your technical team. But the part that was always the bottleneck, translating a business use case into a working automation, is now something your CX or operations team can do on their own.
The first flow is the hardest. After that, iteration is fast and the learning compounds quickly.
FAQs
[av_toggle_container initial=’1′ mode=’accordion’ sort=” styling=” colors=” font_color=” background_color=” border_color=” hover_colors=” hover_background_color=” hover_font_color=” colors_current=” font_color_current=” background_current=” background_color_current=” background_gradient_current_color1=” background_gradient_current_color2=” background_gradient_current_direction=’vertical’ av_uid=’av-2y3zlan’ custom_class=”]
[av_toggle title=’What is a no-code voice agent setup?’ tags=” av_uid=’av-n109kf’]
It is the process of building and deploying an AI voice agent without writing code. Using a visual builder, you configure the agent’s script, call flow logic, escalation rules, and campaign settings through a user interface. No engineering background is required for the core workflow setup.
[/av_toggle]
[av_toggle title=’Can a non-technical team really deploy a voice agent without a developer?’ tags=” av_uid=’av-n109kf’]
For most standard e-commerce use cases, COD confirmation, order status, delivery updates, yes. The prompt, call flow, testing, and deployment can all be managed by a CX or operations manager. Technical support may be needed for custom API integrations or compliance-related requirements.
[/av_toggle]
[av_toggle title=’How long does a no-code voice agent take to set up?’ tags=” av_uid=’av-n109kf’]
For a straightforward outbound flow like COD confirmation or cart abandonment recovery, the setup from prompt to first live call can be completed in a few hours. More complex flows with multiple branches and live data integrations may take a day or two, depending on integration complexity.
[/av_toggle]
[av_toggle title=’What happens when the voice agent cannot handle a customer’s response?’ tags=” av_uid=’av-n109kf’]
The escalation logic you configure during setup determines what happens. Typically, the agent transfers the call to a live agent with full call context already surfaced. A well-designed fallback ensures no customer is left in a loop the agent cannot exit.
[/av_toggle]
[/av_toggle_container]


